> ## Documentation Index
> Fetch the complete documentation index at: https://docs.heffl.com/llms.txt
> Use this file to discover all available pages before exploring further.
# Managing leads: adding, editing, and converting
Leads are your potential customers. This guide covers adding a lead, editing its details, and converting it once they are ready to do business.
***
## Adding a lead
### **Option 1: Add a single lead**
1. Go to **Leads** in the sidebar
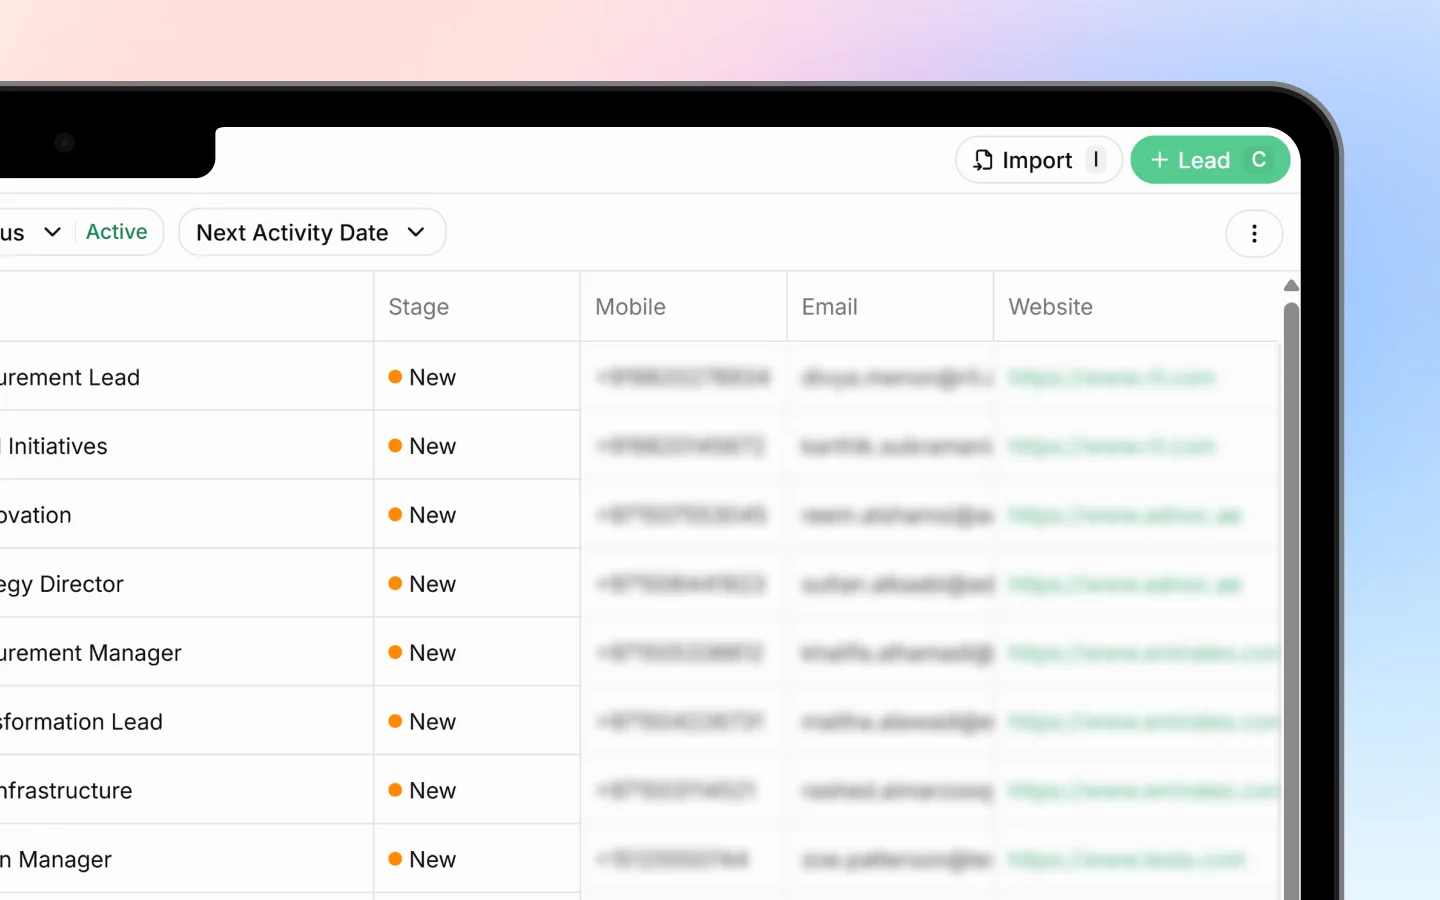
2. Click **+ Lead** in the top right (or press **C**)
3. Enter the lead's name (a person or business name)
4. Fill in any custom fields, such as Channel and Source
5. Click **Add lead** (or press **Ctrl + Enter**)
The lead is created and added to your pipeline at the first stage.
### **Option 2: Import many leads at once**
If you have leads in a spreadsheet, import them in bulk:
1. Click **Import** in the top right
2. **Upload** your file by dropping it in or clicking **Browse files**
3. **Select header** to tell Heffl which row contains your column titles
4. **Map columns** to match your file's columns to Heffl fields (Name, Mobile, Email, Title, Value, Source, and others). Only Name is required.
5. Confirm to finish the import
You can download a template from the import screen to format your file correctly before uploading.
 ***
## Viewing and organizing leads
The Leads page has two views, switchable from the tabs at the top:
* **All leads** shows your leads in a list, one row each
* **Kanban** shows leads as cards grouped by stage
To find or narrow down leads, use the controls above the list:
* **Search** to find a lead by name
* **Sort** to order by created date or other fields
* **Filters** to narrow by specific criteria
* **Stage** and **Status** to show only leads at a certain point
* **Next Activity Date** to focus on what needs attention soon
***
## Editing a lead
To edit a lead's core details, click the lead row to open it, then update any field.
You can also edit some fields directly from the list without opening the lead:
* **Stage** — click the stage cell to move the lead forward (New, Contacted, Followed Up, Converted)
* **Add Note** — click to attach a note
* **Tags** — click the **+** to add a tag such as VIP
* **Mobile, Email, Website** — click the cell to add or change contact details
Changes save automatically.
***
## Adding notes, tags, and activities
Keep each lead's history in one place:
* **Notes** record what was discussed or agreed
* **Tags** group leads for quick filtering (for example, VIP or Technical service)
* **Activities and follow-ups** track calls, meetings, and the next action date so nothing slips
Setting a next activity date is the best way to make sure no lead goes cold.
***
## Converting a lead to a Deal
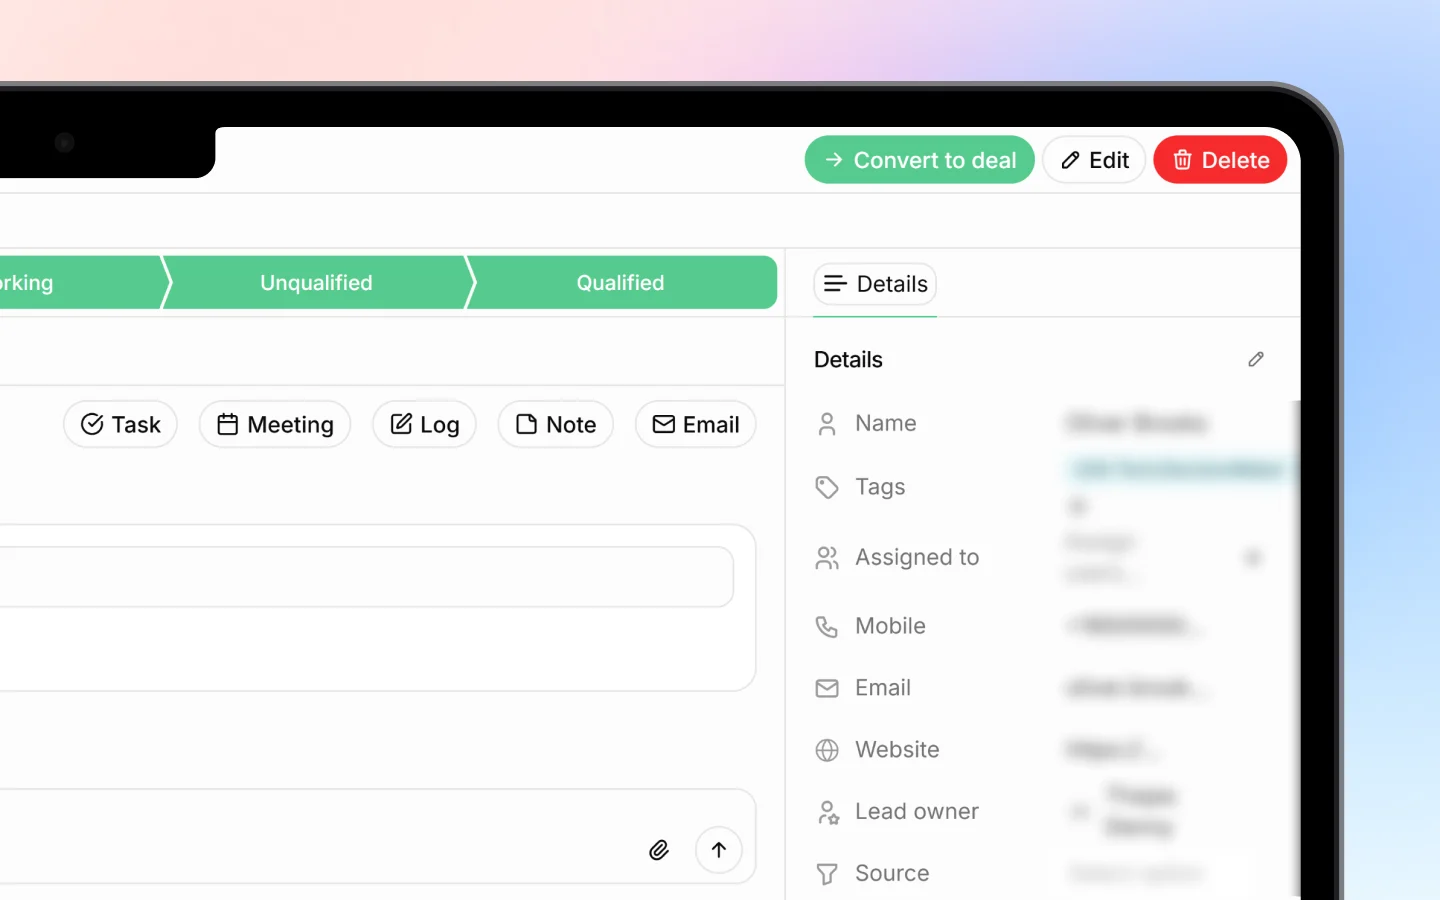
When a lead is ready to do business, convert it. Converting turns the lead into a detailed Deal, while keeping all its history.
1. Open the lead
2. Click **Convert to Deal**
3. Enter the details
Once converted, the lead's stage shows as **Converted** in status and its information carries forward to the deal, so you do not have to re-enter anything.
***
## Viewing and organizing leads
The Leads page has two views, switchable from the tabs at the top:
* **All leads** shows your leads in a list, one row each
* **Kanban** shows leads as cards grouped by stage
To find or narrow down leads, use the controls above the list:
* **Search** to find a lead by name
* **Sort** to order by created date or other fields
* **Filters** to narrow by specific criteria
* **Stage** and **Status** to show only leads at a certain point
* **Next Activity Date** to focus on what needs attention soon
***
## Editing a lead
To edit a lead's core details, click the lead row to open it, then update any field.
You can also edit some fields directly from the list without opening the lead:
* **Stage** — click the stage cell to move the lead forward (New, Contacted, Followed Up, Converted)
* **Add Note** — click to attach a note
* **Tags** — click the **+** to add a tag such as VIP
* **Mobile, Email, Website** — click the cell to add or change contact details
Changes save automatically.
***
## Adding notes, tags, and activities
Keep each lead's history in one place:
* **Notes** record what was discussed or agreed
* **Tags** group leads for quick filtering (for example, VIP or Technical service)
* **Activities and follow-ups** track calls, meetings, and the next action date so nothing slips
Setting a next activity date is the best way to make sure no lead goes cold.
***
## Converting a lead to a Deal
When a lead is ready to do business, convert it. Converting turns the lead into a detailed Deal, while keeping all its history.
1. Open the lead
2. Click **Convert to Deal**
3. Enter the details
Once converted, the lead's stage shows as **Converted** in status and its information carries forward to the deal, so you do not have to re-enter anything.
 ***
## What to do next
After managing your leads:
1. Move active leads into [Deals](https://docs.heffl.com/adding-and-managing-deals) to track the sale
2. Send a [quotation](https://docs.heffl.com/creating-and-sending-quotations) to a converted lead
3. Set up custom fields to capture lead details specific to your business
***
## What to do next
After managing your leads:
1. Move active leads into [Deals](https://docs.heffl.com/adding-and-managing-deals) to track the sale
2. Send a [quotation](https://docs.heffl.com/creating-and-sending-quotations) to a converted lead
3. Set up custom fields to capture lead details specific to your business